Tie-dyeing is a technique used to dye natural fabrics. Its bold and bright colors and color variations without edges give the old clothing a new magic. Its simplicity and attractiveness have undoubtedly led to its multiple independent discoveries throughout history. It subverts the traditional tie-dye fancy, and uses a more free pattern and shape to interpret fashion.http://www.livedye.com/Techniques1.html
Now, I will show three simple methods of tie-dyeing:
The Tools You Will Need:a workbench, dye materials, rubber bands, rubber gloves, squeeze bottles for the dye, large ziplock bags,and a wooden dowel or something similar for creating the twist in the shirt.
Before dyeing your clothes, wash them with warm water for better coloring. If you want to make the dye bloom faster, you don’t need to dry it. If you want more regular dyeing, it is better to dry it. If dyeing indoors, cut and place some garbage bags to prevent possible stains. .https://www.liveabout.com/how-to-tie-dye-instructions-1106341
Method 1. Crumple
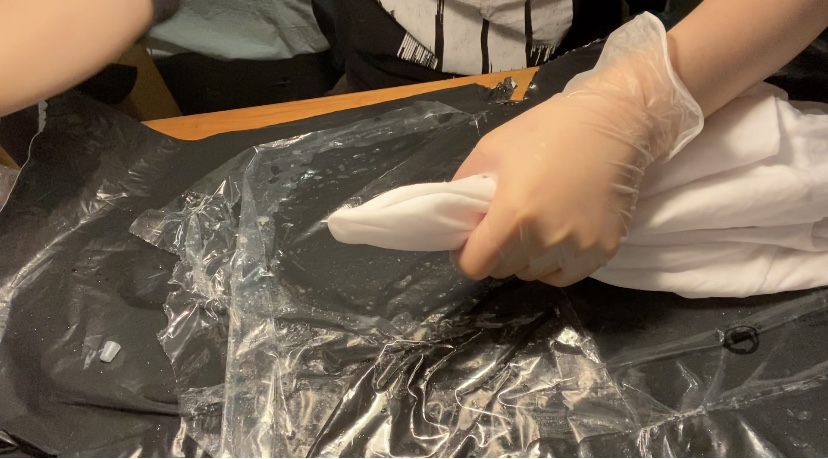
STEP 1:Use your fingers to start crumpling the T-shirt until the whole T-shirt is all rolled up.
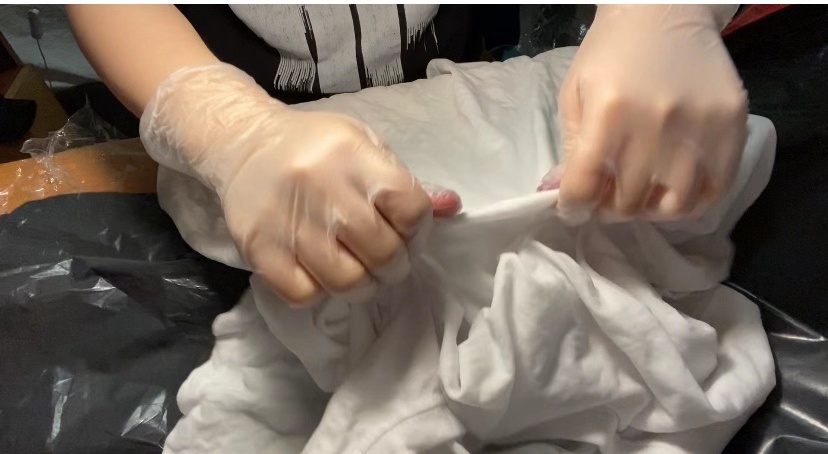
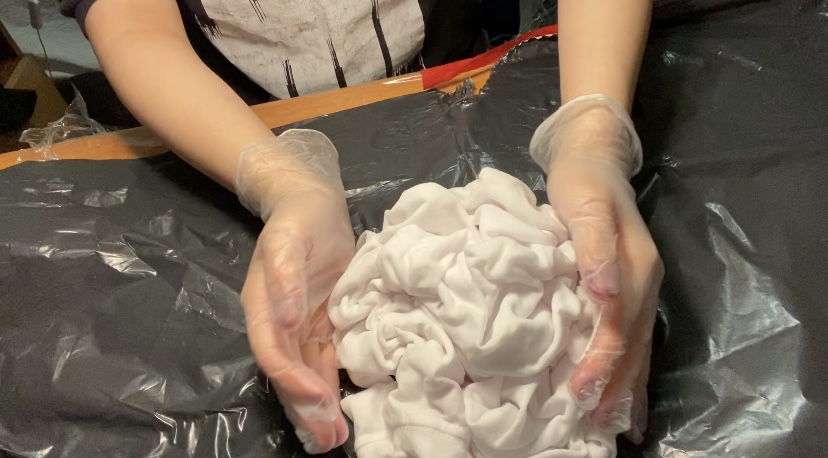
STEP 2:Secure the T-shirt with three rubber bands. The tighter you tie it, the more pronounced the pattern texture.

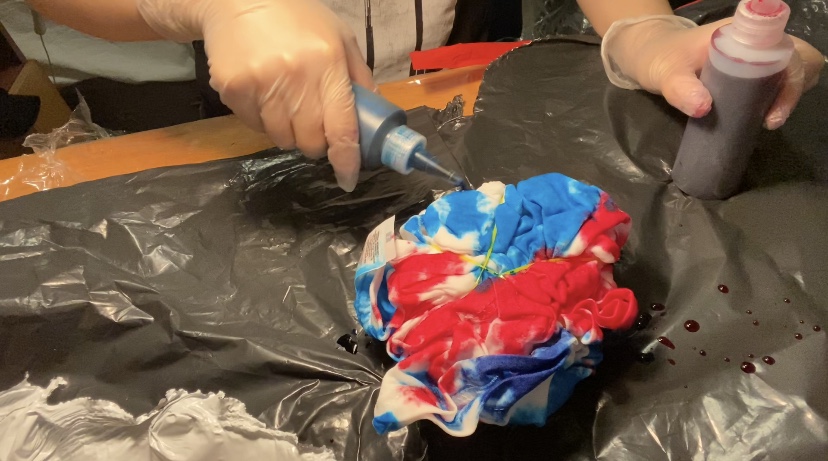
STEP 3:Use squeeze bottles to dye. You don’t need to cower. You can pour into it at will for a more natural and chic effect and you should also dye on the back side of the T-shirt.
STEP 4:After dyeing, put it in a sealed plastic bag.

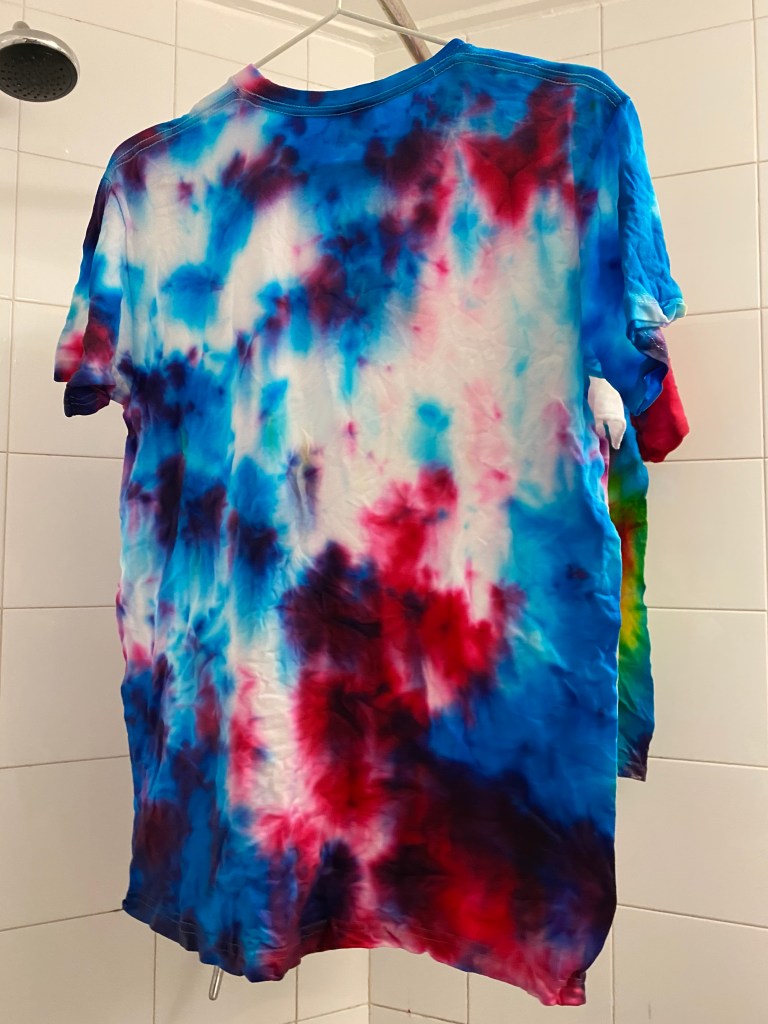
STEP 5: After waiting for eight hours, open the sealed bag, untie the rubber band, and unfold the clothes.
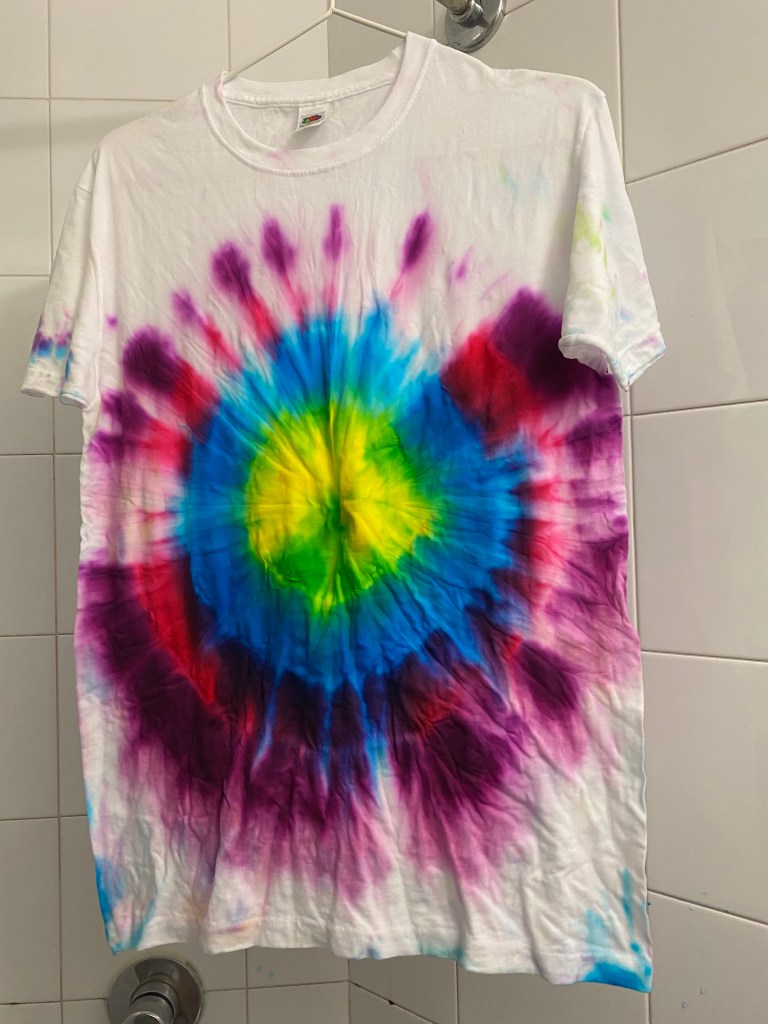
2. Spiral
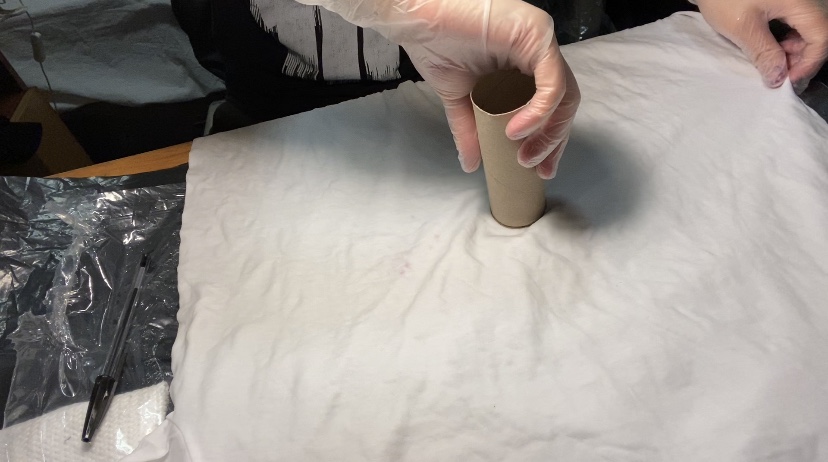
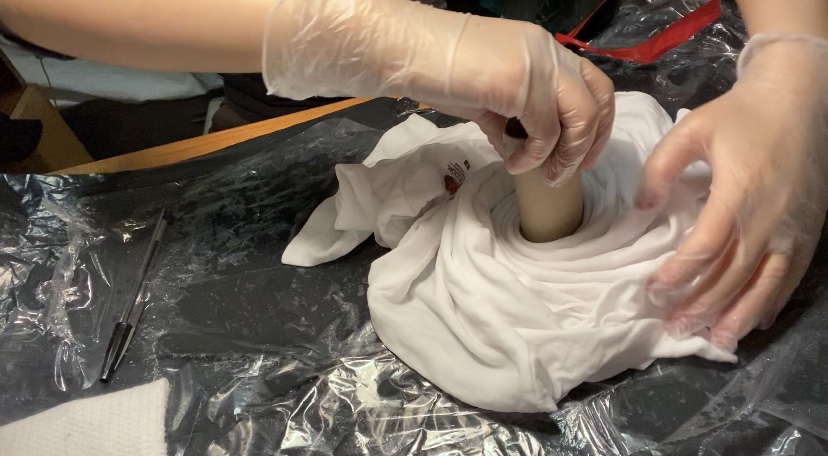
STEP 1:Place the paper tube, (or your finger, or a wooden clothes pin) in the centre of the shirt and start turning clockwise until you have a flat pie shape.
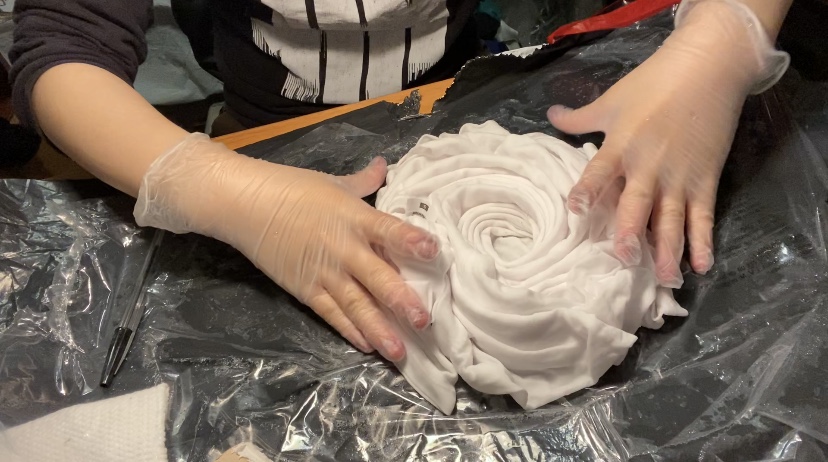
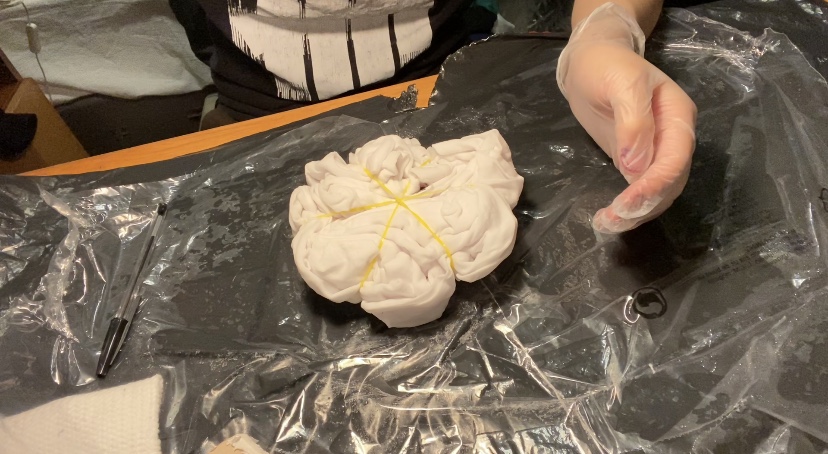
STEP 2:Put on the rubber bands. Slip three bands on and divide it into six pieces. Keep the whole thing as flat as you can.
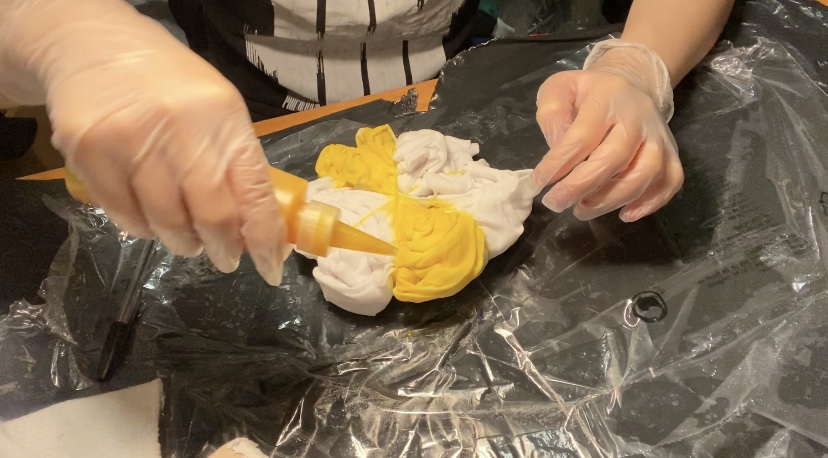
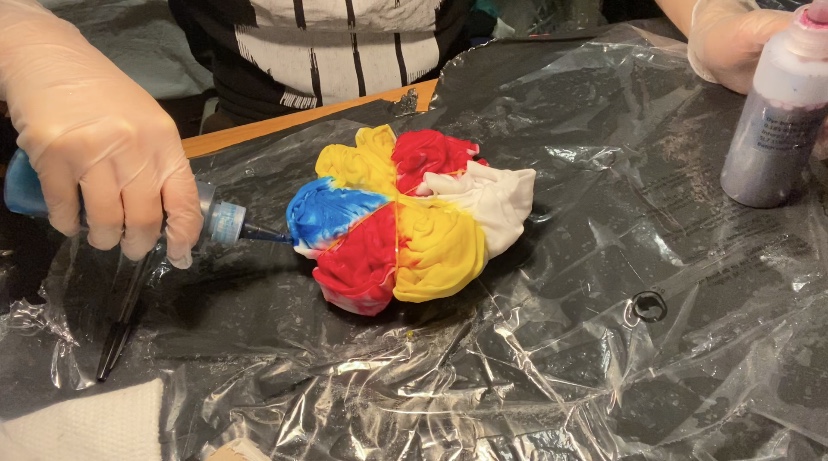
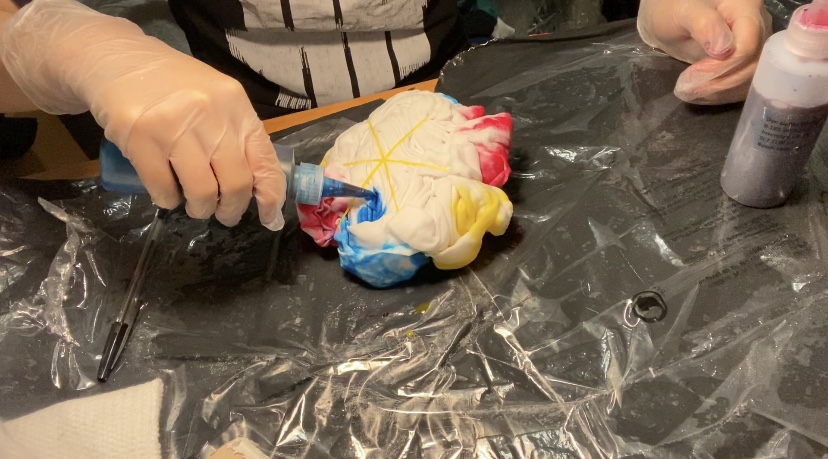
STEP 3:Use squeeze bottles to dye. Dye colors on each piece, and pour the opposite piece with the same color to get a more perfect effect. Remember to stain on the back as well. Pay attention to put light colors firstly, then dark colors.
STEP 4:After dyeing, put it in a sealed plastic bag
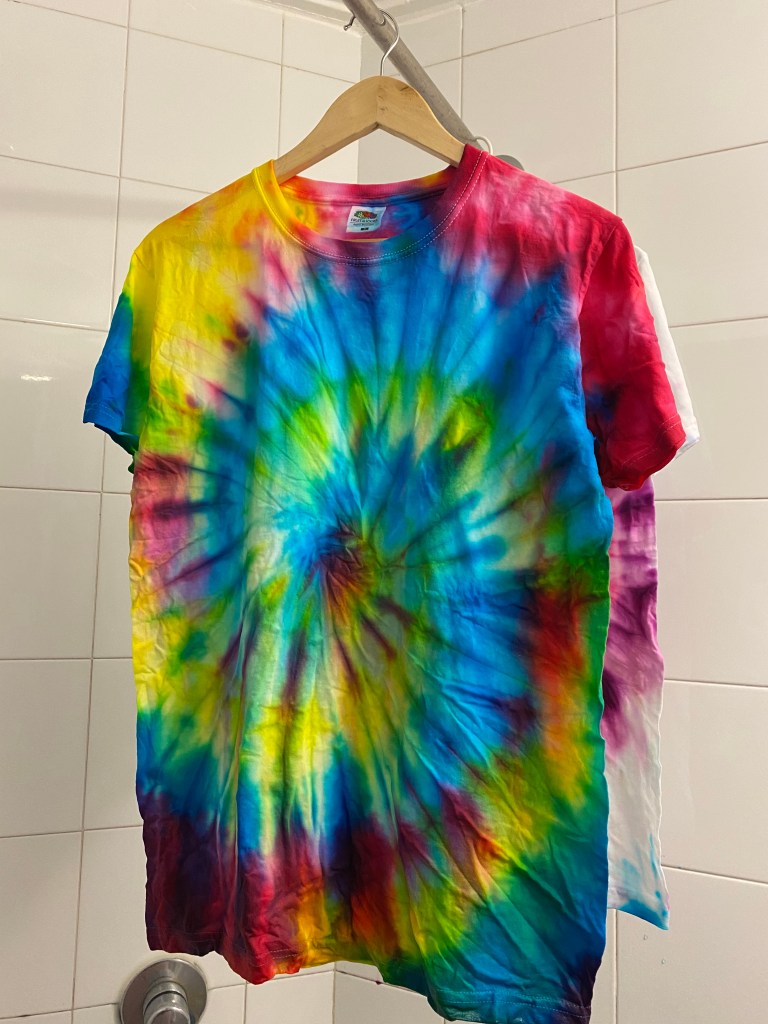
STEP 5: After waiting for eight hours, open the sealed bag, untie the rubber band, and unfold the clothes
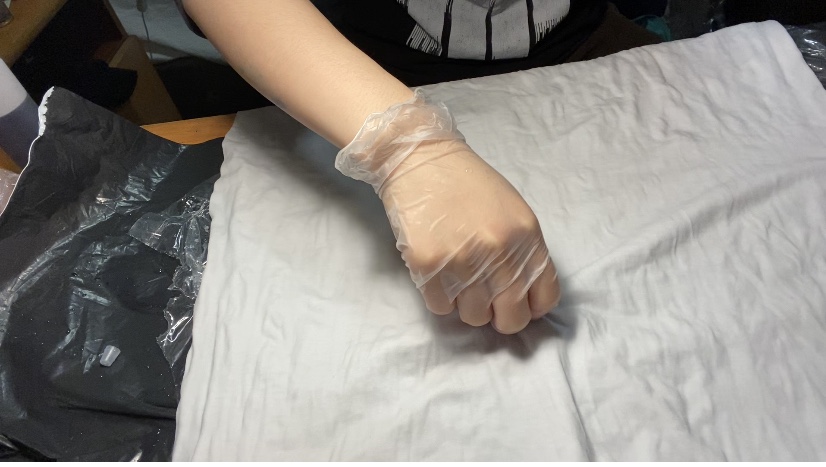
3. Concentric circles
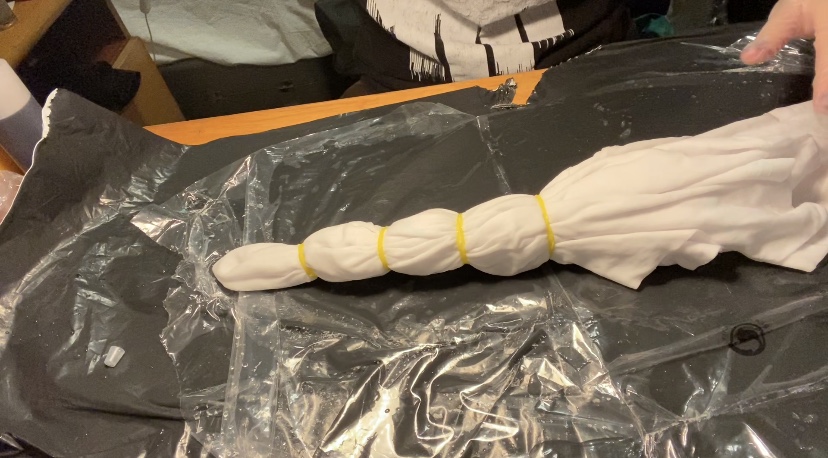
STEP 1:Pick up from the center of the T-shirt, start from the beginning, divide it into four parts, and tie it equally with rubber bands.
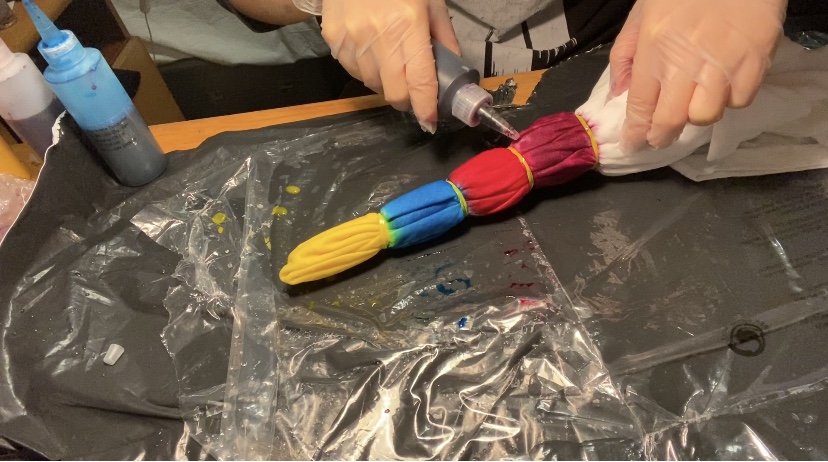
STEP 2:Dye different colors on each piece, the order is yellow, blue, red, purple
STEP 3:After dyeing, put it in a sealed plastic bag
STEP 5: After waiting for eight hours, open the sealed bag, untie the rubber band, and unfold the clothes
※After the dye has set, you will need to wash away excess dye. Put the tshirt in cold water and add salt, soak for 20 minutes, rinse with cold water by hand until drained. Then put the T-shirt in the washing machine, wash and rinse with hot water.
YOU CAN ALSO WATCH THE VEDIO VERSION IN YOUTUBE:
